
Study Buddy Guest Post - DIY Notebooks with Her Library Adventures
Hi, it’s Sophie from Her Library Adventures here. I’m so delighted to be popping by one of my favourite blogs, One Sheepish Girl to share with you a fun little DIY to transform your notebooks into lovely works of art.
I’m an avid list maker, so I always keep a notebook in my handbag with me and I love to make mine a little bit special simply by altering the covers the way I did for school, using old fashioned self-adhesive contact or brown paper. There are so many ways to transform your notebooks, so today I thought I’d share three of my favourites that you could use for work, school and at home on your desk.
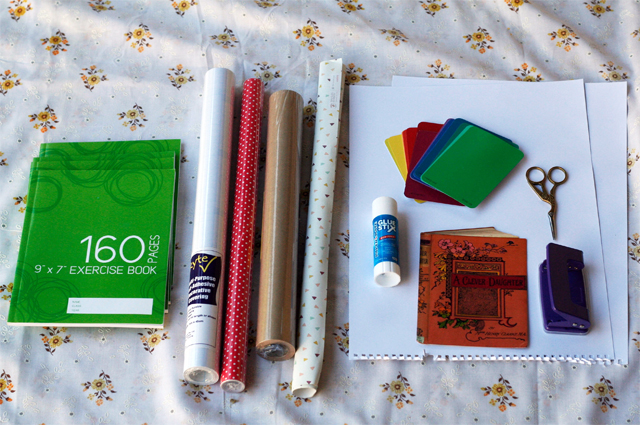
What you will need: To create these three covers I’ve used; a notebook (I’ve used 9’ x 7’ exercise books for this project, clear self-adhesive contact, coloured self-adhesive contact (I love polka dots), brown paper, wrapping paper, white paper, some paint chips from the hardware store, a favourite greeting card, a hole punch and glue and scissors. Optional is some pretty tape to decorate the inside covers.
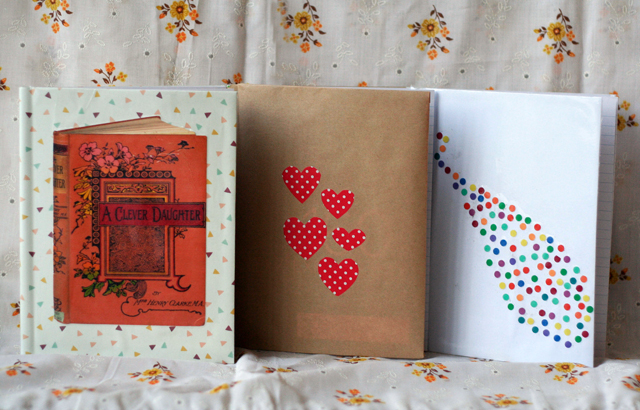
Card and Wrapping Paper Notebook: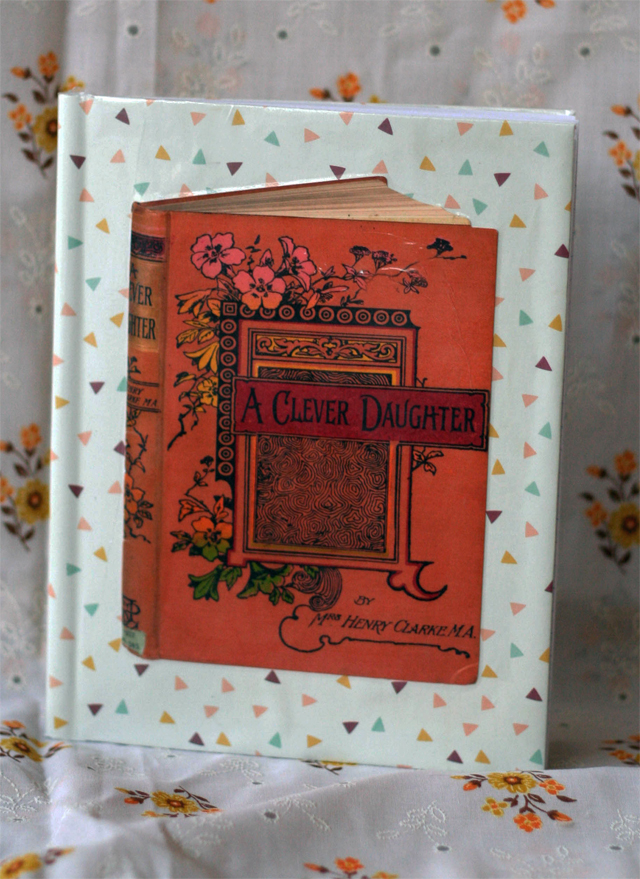
This is a lovely way to keep and display a favourite greeting card and pretty wrapping paper.
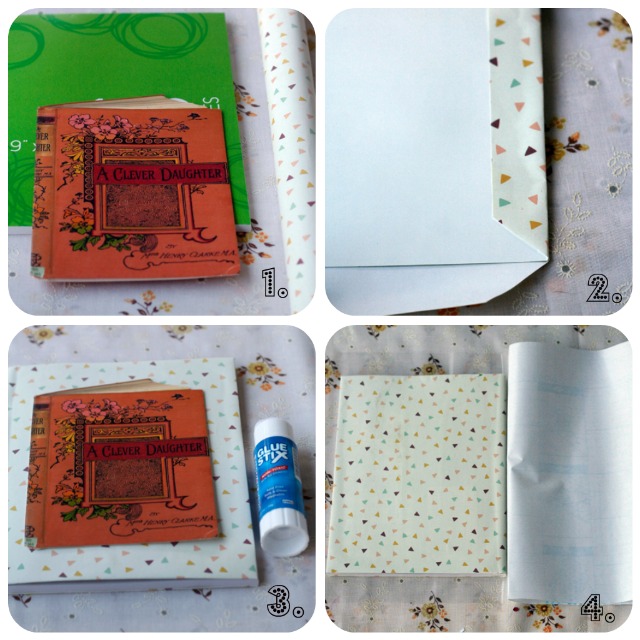
1. Find a lovely greeting card and some wrapping paper to co-ordinate, you can use new or recycled paper, which is wonderful for after Christmas or birthdays.
2. Using glue, apply the wrapping paper to the notebook. It is best to work from the front to the back making sure to cut the corners as you go.
3. Cut the front of the card and glue it to the front of the notebook.
4. Using clear self-adhesive contact cover your notebook. This will protect the paper and card and keep your notebook looking lovely. For detailed instructions on applying the contact see the inside of the roll.
Love Heart Notebook:
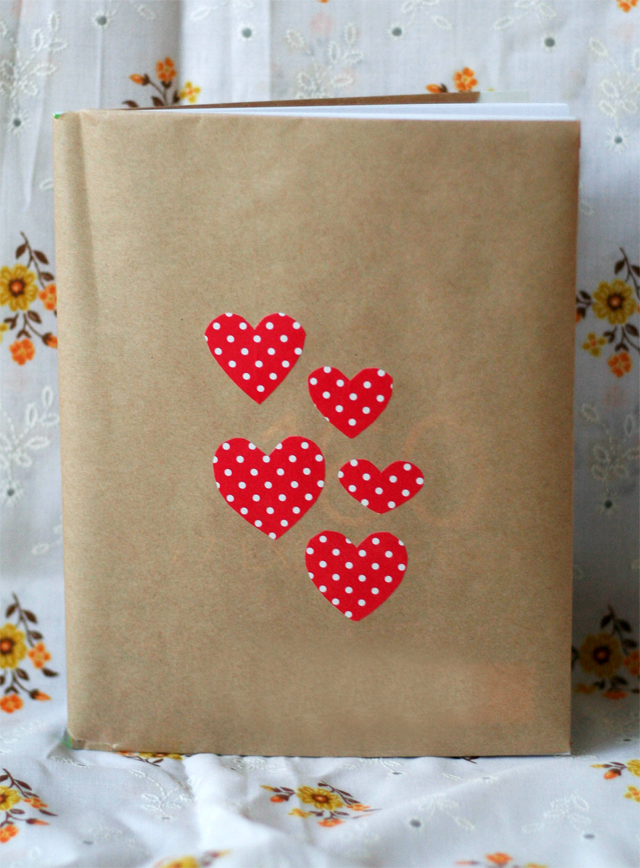
This notebook cover is inspired by the book my grandmother used for home economics. It’s wrapped in brown paper and filled with all kinds of lovely images, recipes and even advice on how to iron a shirt.

1. Cover your notebook in brown paper using either glue or tape.
2. Ensure you cut the edges the same length so they line up inside and you can add tape for a pretty effect.
3. Using coloured contact cut out shapes and adhere them to the front cover.
4. I made this small cluster of hearts using this red polka dot contact. Feel free to alter your design or find a template online to use as a guide.
Confetti Notebook:
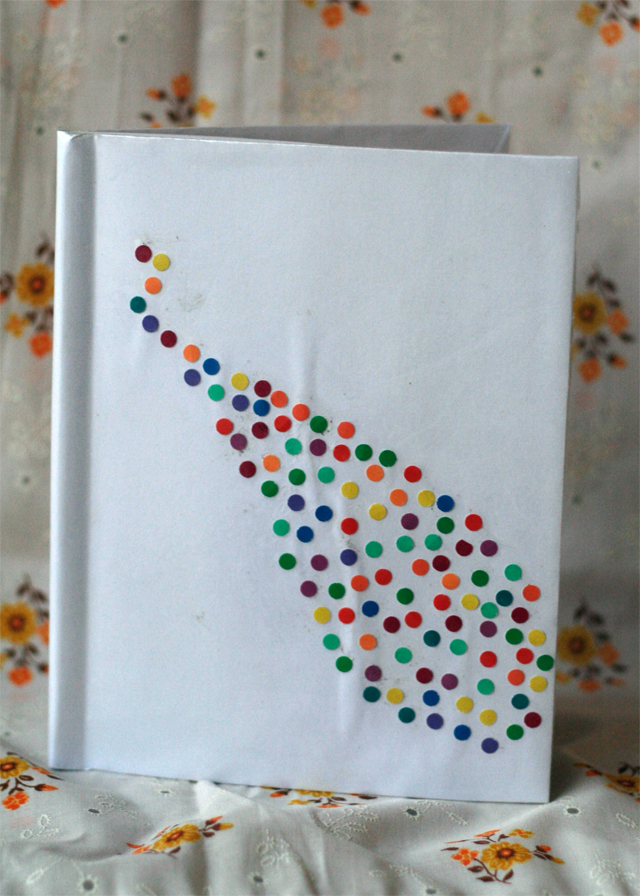
This is such a fun colourful notebook and would be great to make as a holiday activity with kids.
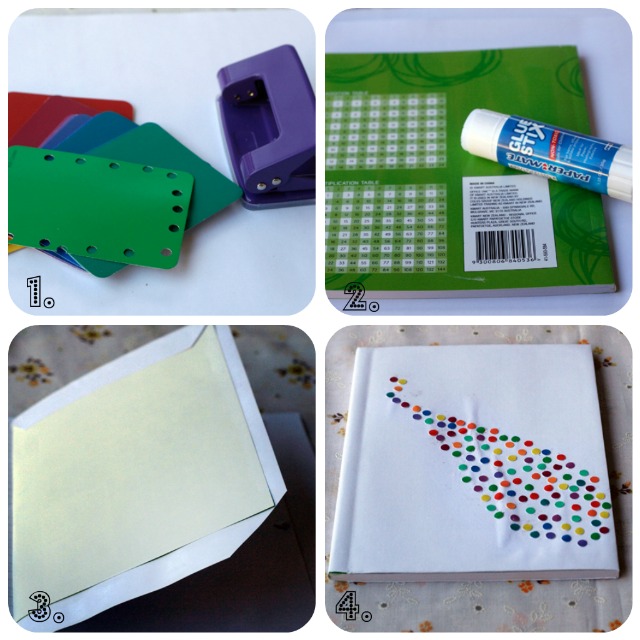 1. Pop down to your local hardware store and pick up a few paint chips in a variety of lovely colours. They are perfect for crafting! Alternatively you can use coloured card or paper. Grab a hole punch and make a bunch of colourful dots.
2. Using glue to cover your notebook in paper. I used white paper from my sketchbook
3. As with the others, make sure you cut the corners to help create a smooth finish
4. On the front cover, add some glue in a pattern of your choice and stick on the paint chip dots. This can be a little fiddly but also lots of fun. To keep the dots in place, use clear self-adhesive contact. For detailed instructions on applying the contact see the inside of the roll.
Work from the front to the back and do one side at a time.
Cut the corners to create a clean finish
If you find air bubbles, smooth them out using your hand or a ruler
I’ve found that better quality contact is thicker and easier to work with
Take your time and remember practise makes perfect!
I always find a lovely notebook inspiring to write in! They also make lovely handmade Christmas gifts for stationery loving friend. So next time you are out and about, grab a notebook and some contact and get creating.
Thanks so much for having me Meredith! Best wishes for your final exams.
*Thank you Sophie! I love the idea of a handmade notebook for a Christmas gift. I know a few friends of mine who would love these! This is the last Study Buddy guest post this week. Thank you so much for all of the support as I completed this semester. I finished my last final today and did a little heel-click when I left the class!! It's officially Christmas break!!
Thanks again to all of the guest bloggers and sweet comments this week. You really helped me make it through. :)