
"I Love Fall" Crochet Sign
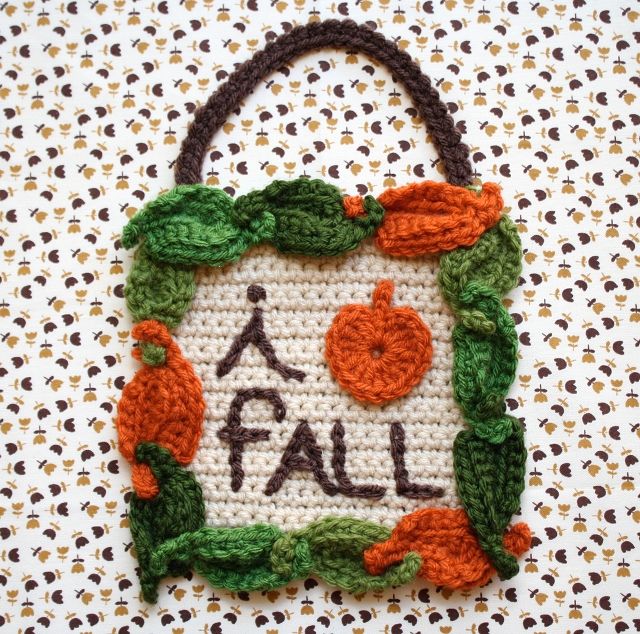

I love fall, yes it's true. It is such a beautiful time of year for us yarn crafters! Now yarn actually feels good in my hands instead of all heavy and hot like it does in the summer. Lately I've been fiddling with these crochet leaves and I finally decided to use them for a fun sign declaring my love for the season. I typically skip over fall crafts and look straight ahead to the holidays so this was a fun change. However, my mom has already claimed this sign as her own, hanging it on the entryway coat closet doorknob, so I guess I need to get started on another one...
Materials:
- Worsted weight yarn in a variety of fall colors
- A H8/5mm crochet hook
- Tapestry needle
- Scissors
Pattern: This project is for personal use ONLY. Do not sell this pattern or reproductions of this pattern for profit.
Base Square:
Dimensions: My final square measures 6 x 6 inches. You can definitely change the size of this square for your own sign!
Chain 21
Row 1: In the second chain from the hook single crochet all the way across. Chain 1. Turn
Row 2: Repeat this process until your square measures 6x6 inches.
Bind off. Weave in ends.
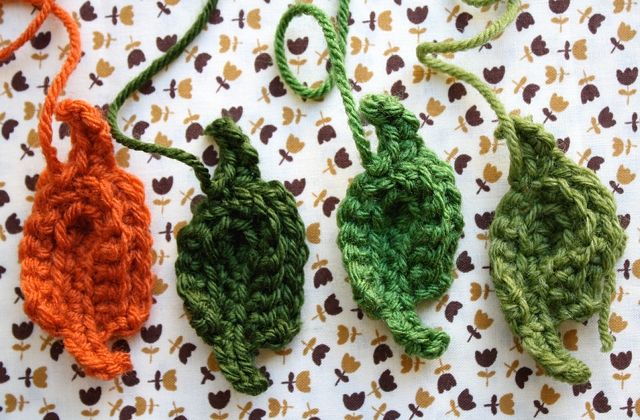
Leaves:
Chain 8
Row 1: Starting in the second chain from the hook single crochet in each stitch. When you reach the final chain, double crochet 5 times in the last space. On the other side of the chain, single crochet until you reach the last three stitches. Chain 1. Turn.
Row 2. In the back loops only, single crochet until you reach the base of the leaf. Single crochet, chain one, single crochet. Continue with the single crochet until you reach the last three stitches. Chain 1. Turn.
Row 3: In the back loops only, single crochet until you reach the base of the leaf. Chain 4. In the second chain from the hook, single crochet in the next 3 stitches. Join the stem to the base of the leaf with a slip stitch.
Bind off. Leave a long tail for sewing.
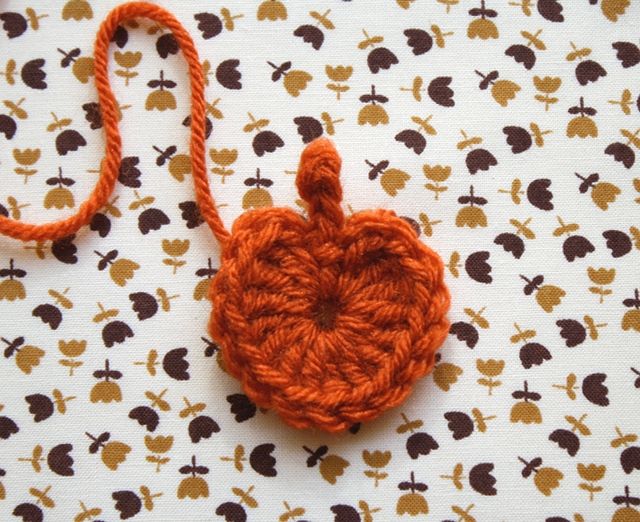
Pumpkin:
I used this small crochet heart pattern for the base of the pumpkin. For the stem I simply chained 3 stitches, slip stitch starting in the second chain from the hook. Repeat until you reach the end. Slip stitch with the center of the pumpkin. Bind off. Leave a long tail for sewing.
Handle:
Leaving a long tail for sewing, chain your desired amount of stitches.
Row 1: In the second chain from the hook, single crochet. Single crochet in each stitch to the end.
Bind off. Leave another long tail for sewing.
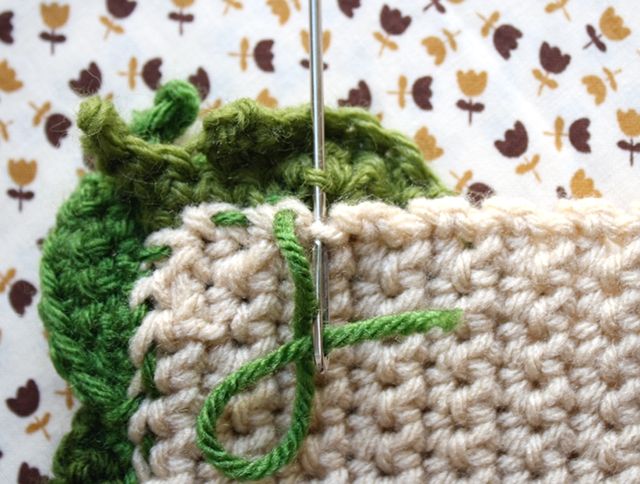
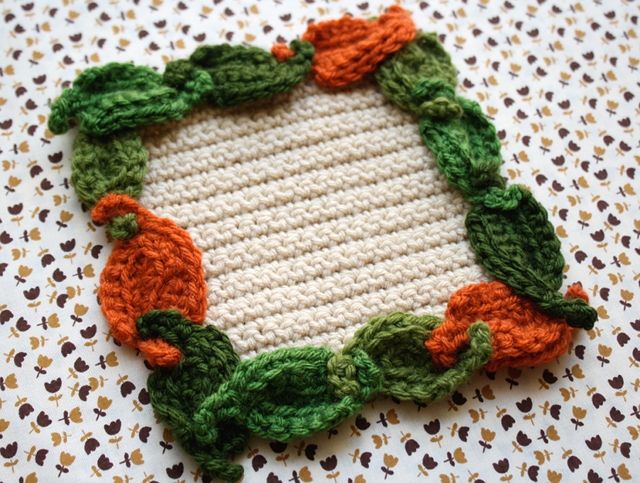
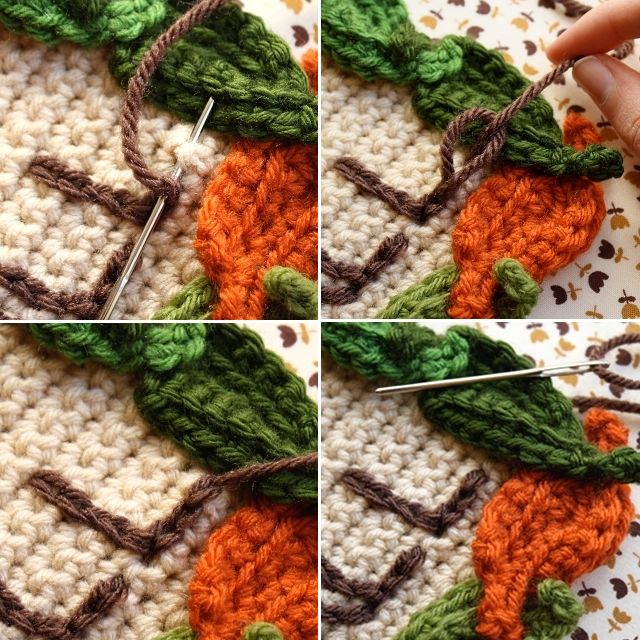
Assembly:
-Sew the leaves around the edge of the base crochet piece. Weave in ends and snip off the excess.
-Embroider "i" and "fall" on the square, leaving room for the pumpkin. Use the image above to help with embroidering the letters.
-Sew the pumpkin next to the "i". Weave in ends.
-Attach the handle by sewing the long tails to the top left and right corners of the sign.
-Weave in any additional ends.
I love how this project turned out! The green, brown, and orange colors make me feel all warm and cozy. This sign definitely is getting me excited for when the leaves actually change colors. The first day of fall is on its way!
I hope this adds a little autumn warmth to your own space.